In this tutorial, You will learn how to install Linux on your system. For an example in this tutorial, I will be installing current stable version of Debian Linux with Gnome desktop environment. Current stable version of Debian at current date (May 1, 2020) is version 10 codenamed buster. Installation method may differ slightly depending on the distribution you choose but it will be very similar to this method.
Step 1: Download or buy
First you need to download an ISO file of Linux OS. You can download current stable version of Debian Linux from here. To users who are coming from Windows, I highly recommend downloading ISO with KDE or Cinnamon desktop environment because their user interface is very similar to that of Windows.
Tip: Given a choice between downloading an installer ISO and live ISO, Choose to download live ISO. Graphical installers of live ISO are easier to use and you can use your PC while installing the OS, making it easier to find help on the internet if you mess up the installation.
You can also buy Linux on DVDs or Flash Drives from stores.
Step 2: Make a bootable Flash drive
You can make bootable USB stick using your favourite tool. Rufus and Etcher are two famous tools for this task. If you don’t know how to make a bootable Flash drive, click here.
Step 3: Boot into installer media
After you have made a bootable flash drive, plug it in your PC, reboot and choose your flash drive in boot menu. Boot menu can be displayed by pressing F12 on Dell and F9 on HP PCs while it is starting to boot (i.e. when company logo shows up). When your PC has booted up into installer media (in our case, flash drive), it will look something like this
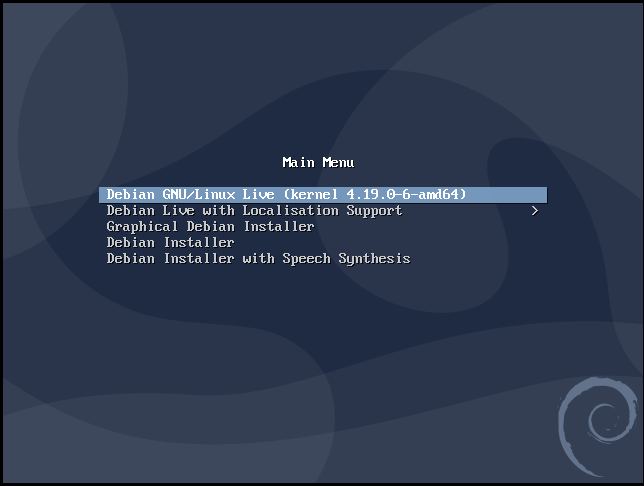
Step 4: Install Linux
Select 1st option from the menu. It will boot into the live environment. If you are using KDE or Cinnamon, there will be an option to install right on the desktop. In our case it does not happen because we are using Gnome. It does not support Desktop Icons by default.
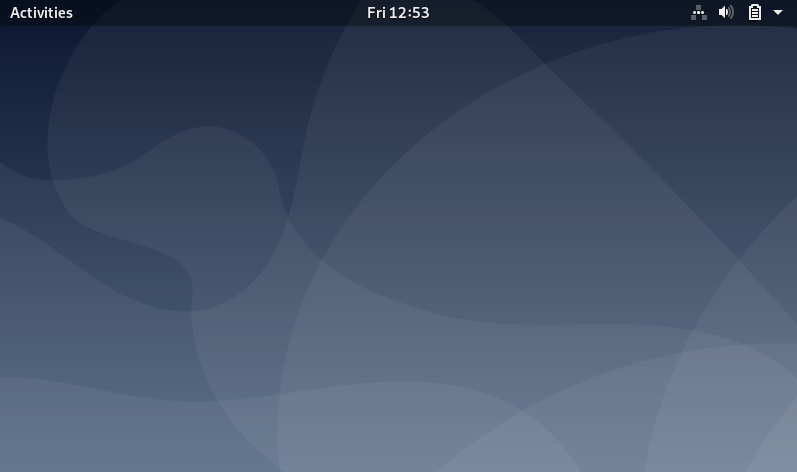
So, we press Windows key or click on the upper left corner where “Activities” is written and it gives us some options including the option to install Debian.
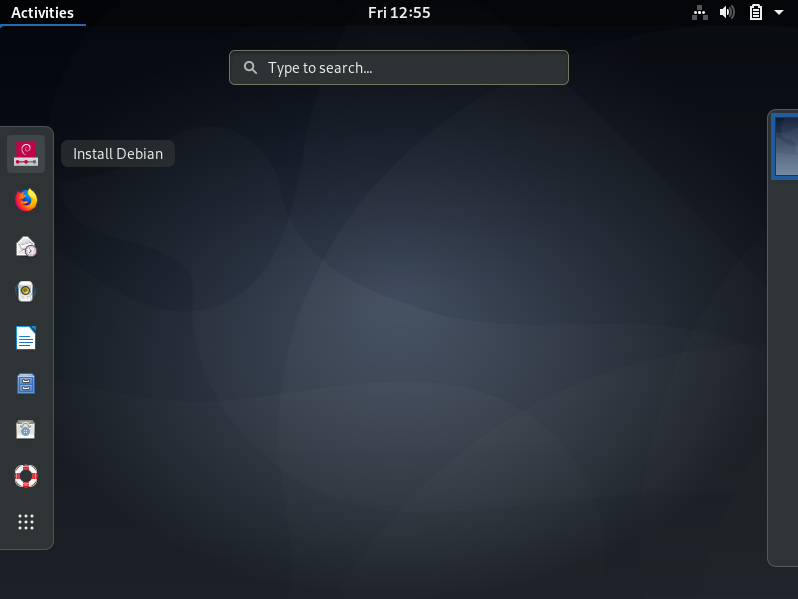
Now, we click on install debian icon. It launches the installer.
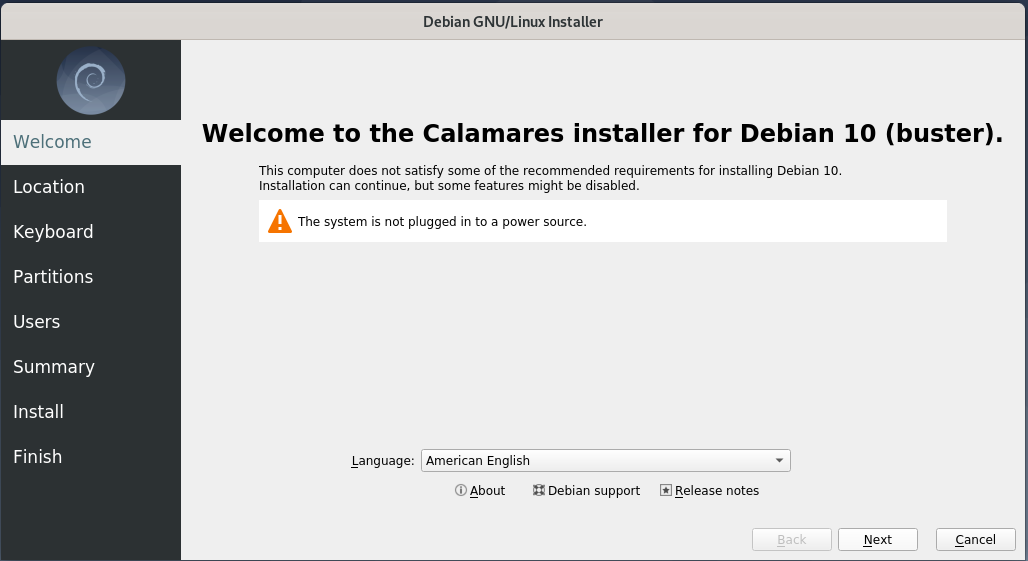
Select your language and click on Next.
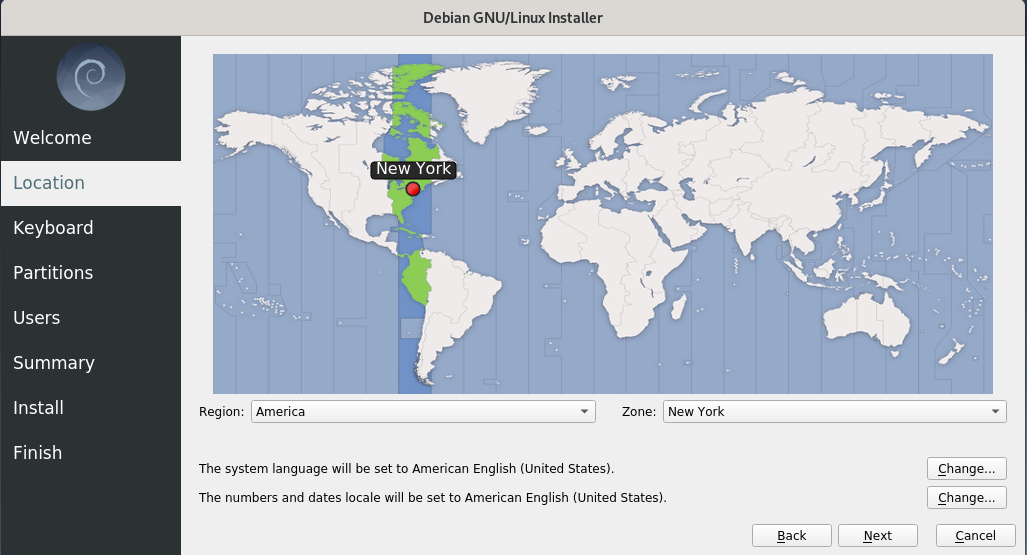
Now, Select your timezone so that your PC can automatically set correct time and date. Mine is Karachi/Islamabad (Pakistan).
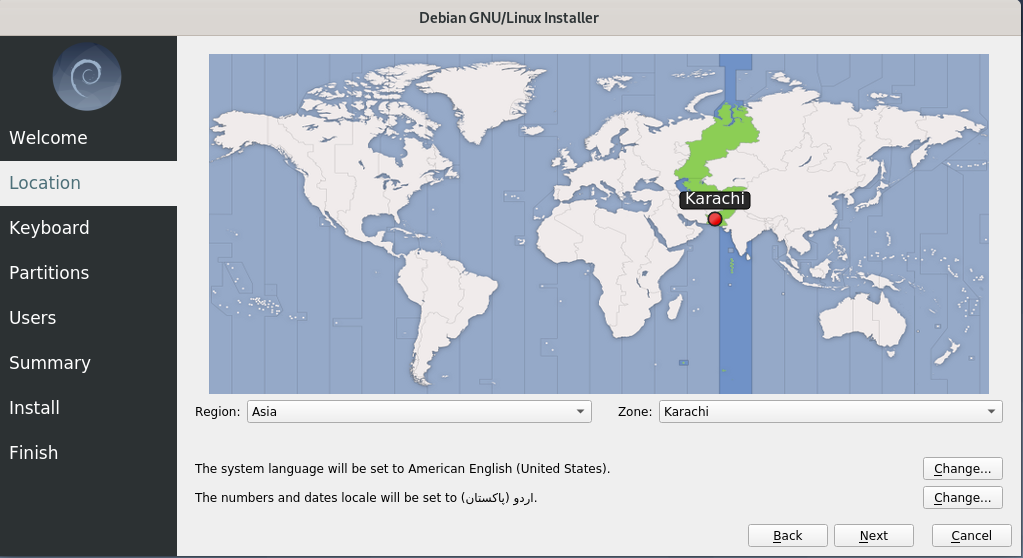
As you can see from the picture above, Installer sets time and number format to your state’s national language. You should change it to English. Click on 2nd “Change…” button and select en_US.UTF-8 from the menu.
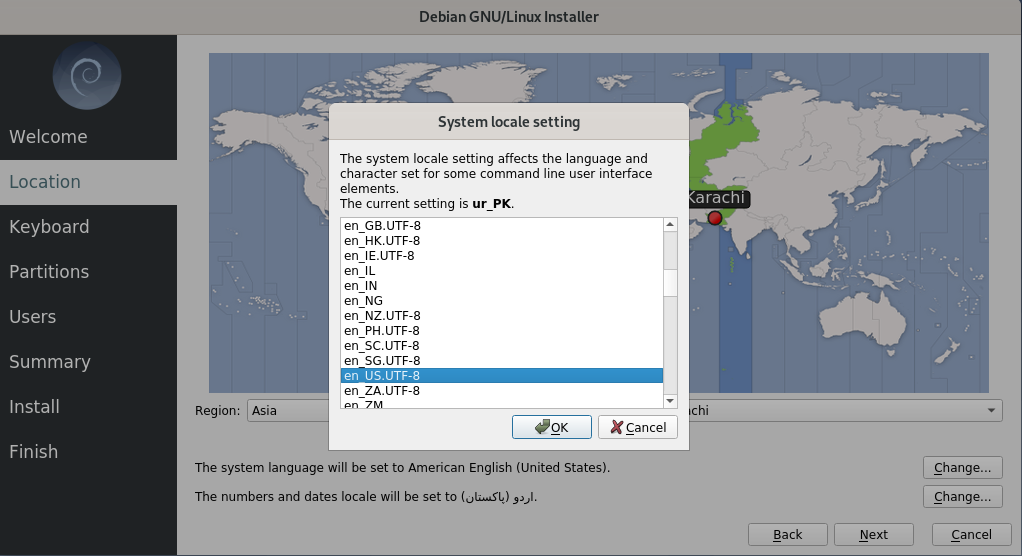
Click OK and then Next. Now, you have to select your keyboard layout. Select English (US) on left and Default on right.
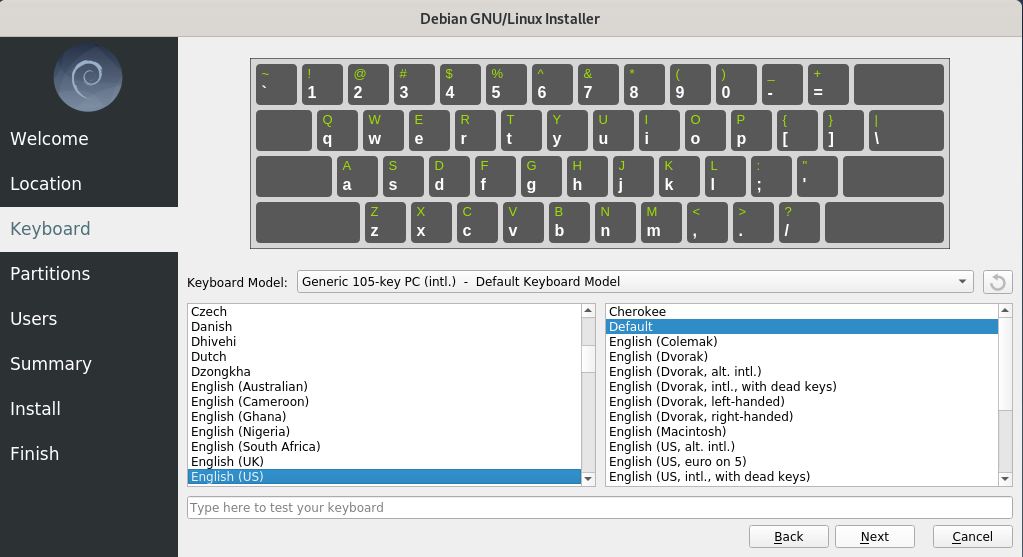
Click Next. Now, you are given 4 options depending upon your setup.
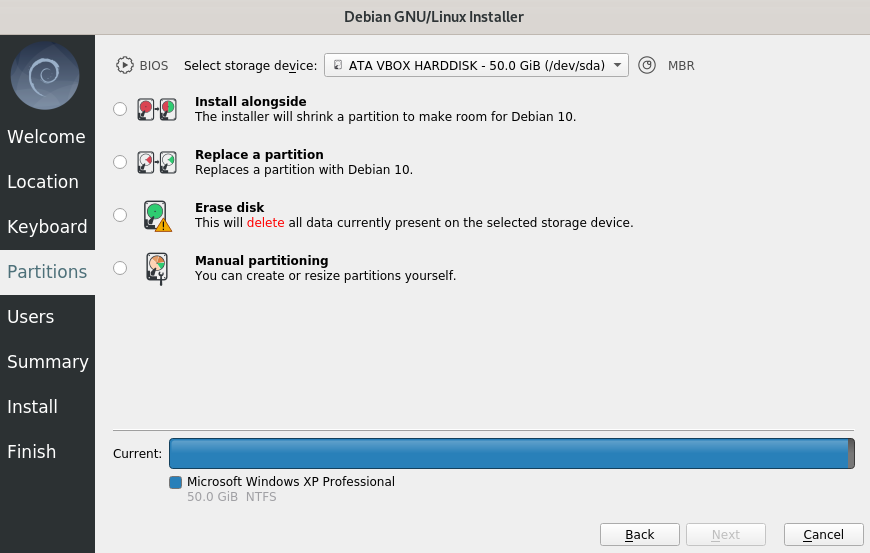
- Install alongside: Use this option if you want to dual boot i.e. install this distro alongside Windows or other Linux distro.
- Replace a Partition: Use this option if you want to replace currently installed OS (Windows/Linux/MacOS) with this distro or if you want to reinstall this distro.
- Erase disk: This will delete everything on your disk including Pictures, Videos, Audio files and then install Debian.
- Manual partitioning: This option is for advanced users who want to delete, create, resize, or format disk partitions on their own for the installation.
1.Install alongside:
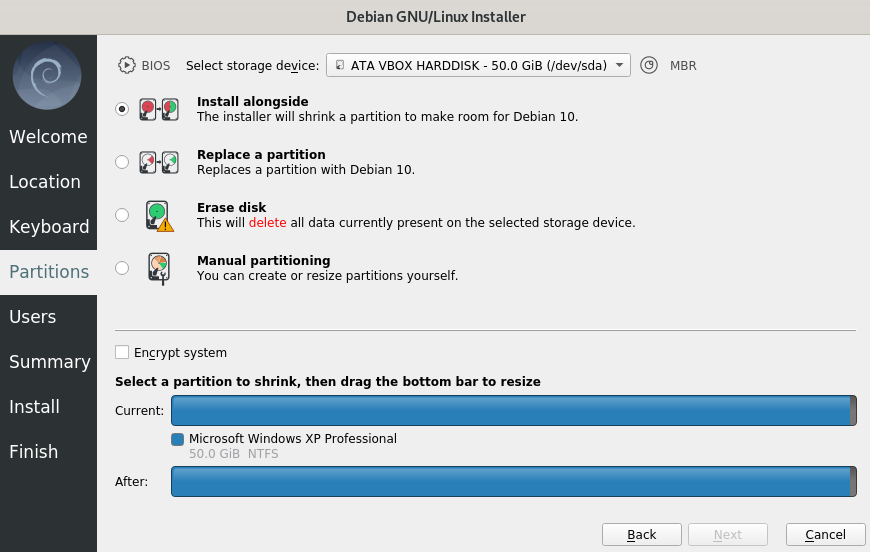
If you select this option, two colourful lines will show up at the bottom of installer window. These show each logical drive (partition) in a different colour. Between them, there is a list that tells which colour represents what partition. In my case, there is only one partition with Windows XP. Click on a colour in the upper line. This will cut that partition into two pieces.
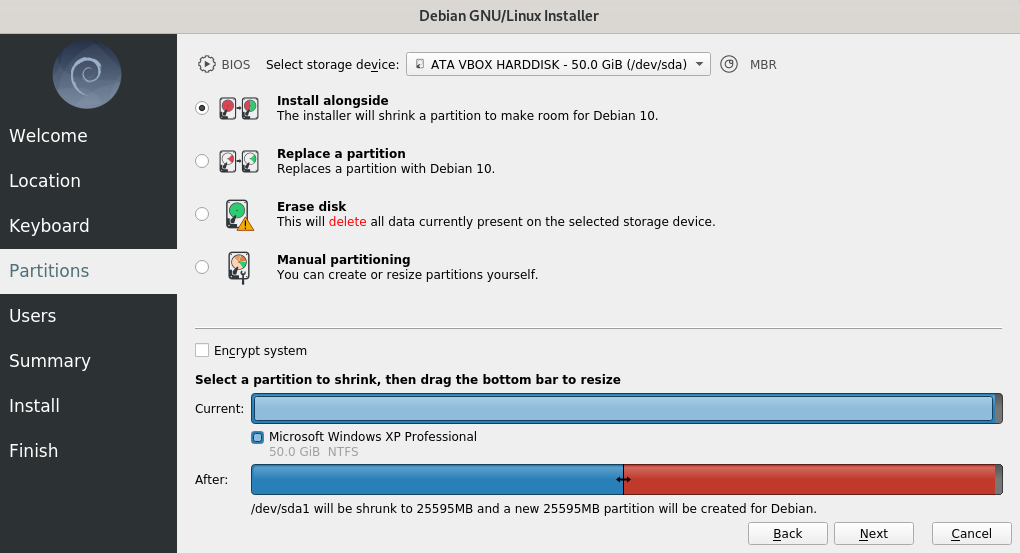
Adjust the size of your new partition by dragging two sided arrow on bottom line.
Then click Next.
2. Replace a partition:
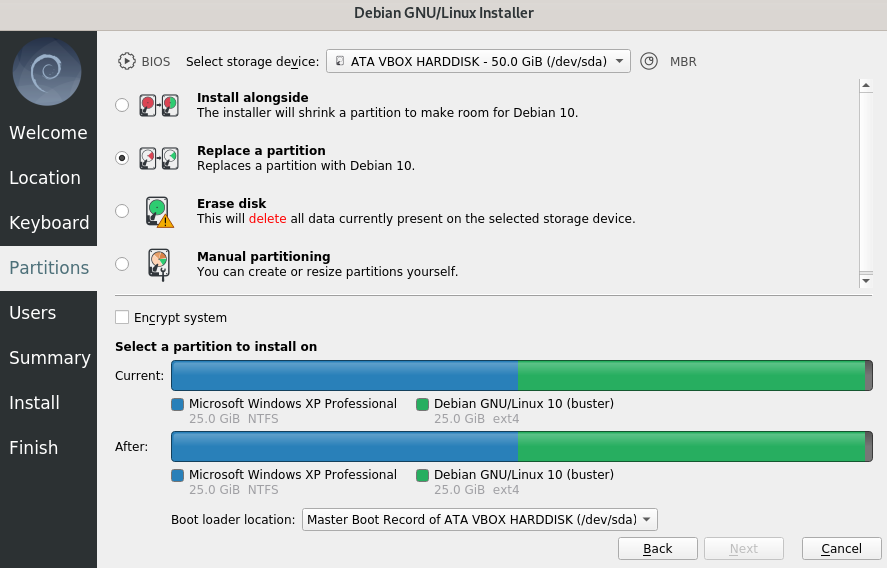
If you select this option, two colourful lines will show up at the bottom of installer window. These show each logical drive (partition) in a different colour. Below each line, there is a list that tells which colour represents what partition. Upper line shows partitions before installation and lower line shows partitions after the installation. In my case, there are two partitions; One with Windows XP installed on it and one with Debian already installed on it. Select a partition from upper line. The partition you select will be formatted and our new Debian will be installed on it.
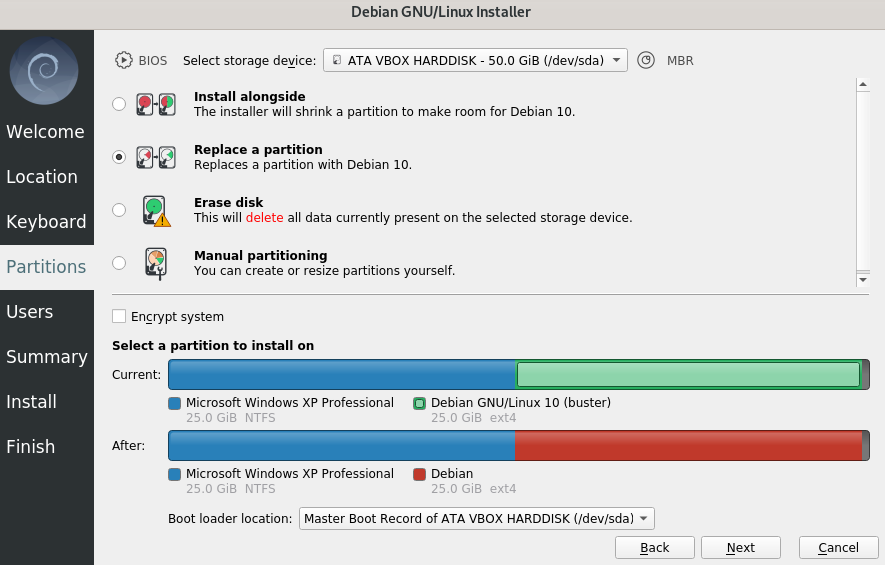
When you select a partition, its colour on both lines changes. After selecting a partition, click Next.
3. Erase disk:
After you select Erase disk you will be given a screen like this
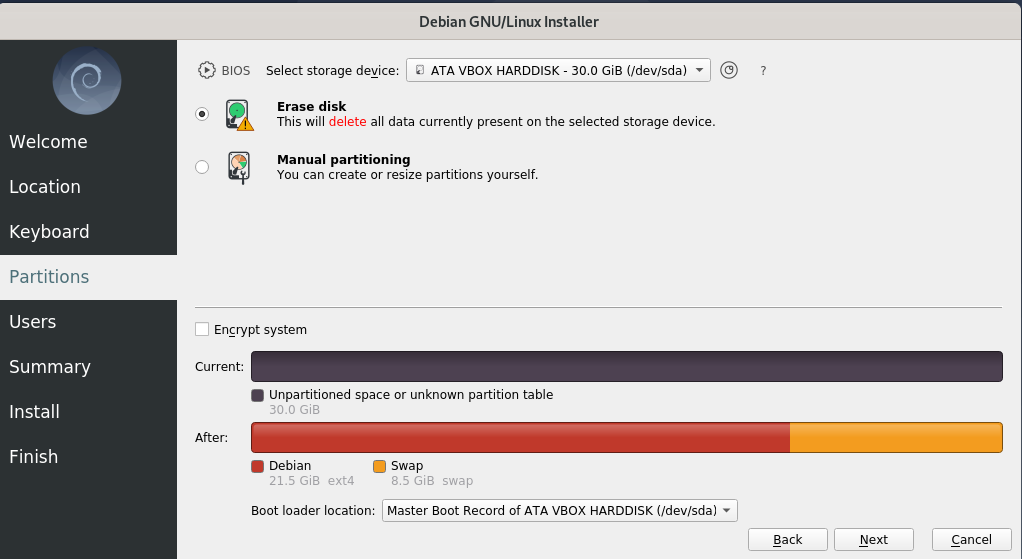
You don’t have to do anything. Just click Next. But remember, This will delete everything on your physical disk.
Remaining Installation Steps:
Now, you are given a screen like this
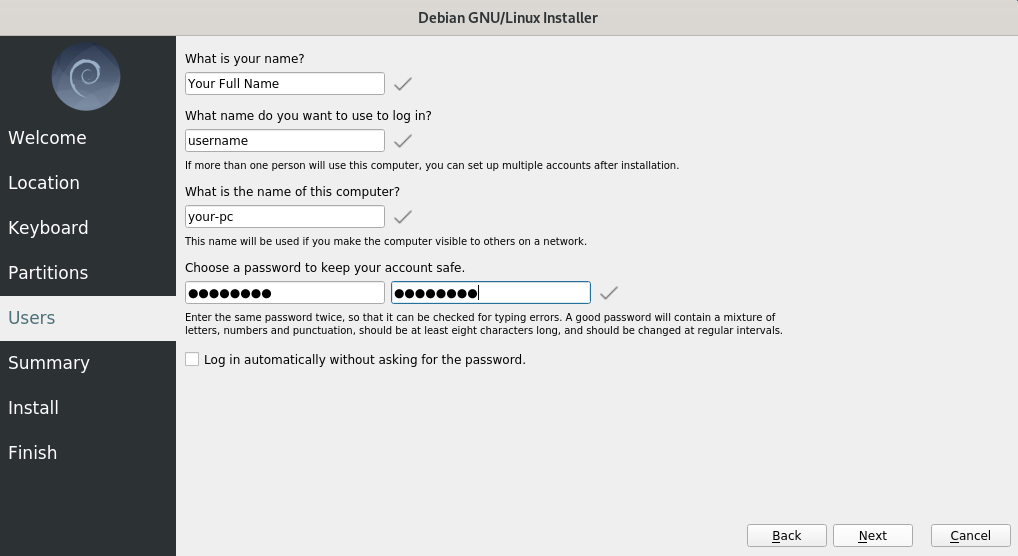
These are simple questions. Type their answers in the boxes given below them.
- Type in your real name under “What is your name?”
- Type a username under 2nd box. Username is not necessarily your exact name. You can type in anything but it is recommended to use your first name as username.
- In third box, type in a name for your computer. This name will be used in networks. For example, when you connect with other devices through bluetooth, create wifi hotspot, etc, Your computer will be available to other devices with this name.
- Last two boxes are for password. Create a long and strong password for security. You cannot leave these boxes empty. If you do not want to type your password each time you turn on your computer, check the little square box given at the end.
Click Next.
Now, you will be given a summary of what options you chose for the installation.
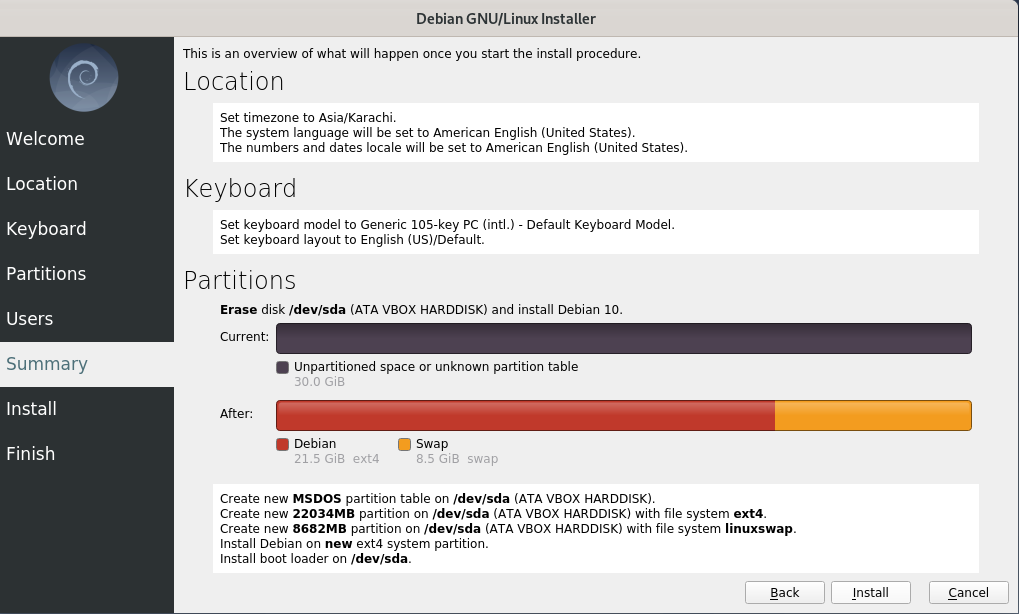
Take a look at the summary to check if you want to change anything. Click Install to start installation.
Note: This is your last chance to change options or cancel the installation. Nothing has been applied to your computer yet.
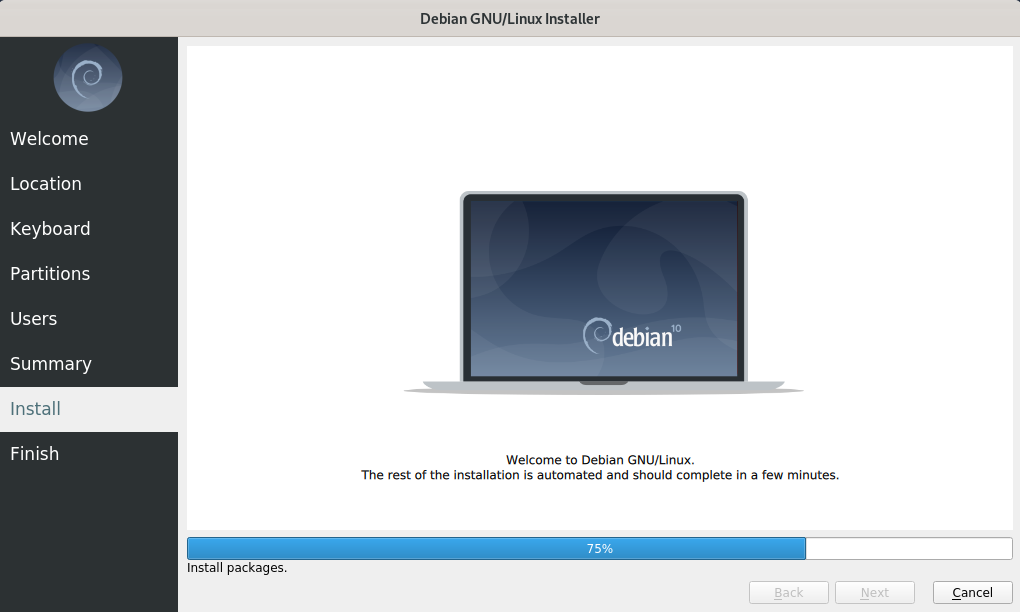
Once you click Install, the real installation will begin. You don’t have to do anything else. The rest of the installation is automatic.
Note: Now, you can’t cancel the installation. Yes, the option is still available but if you click on it, the installation will surely stop but the changes that are applied will not be reversed.
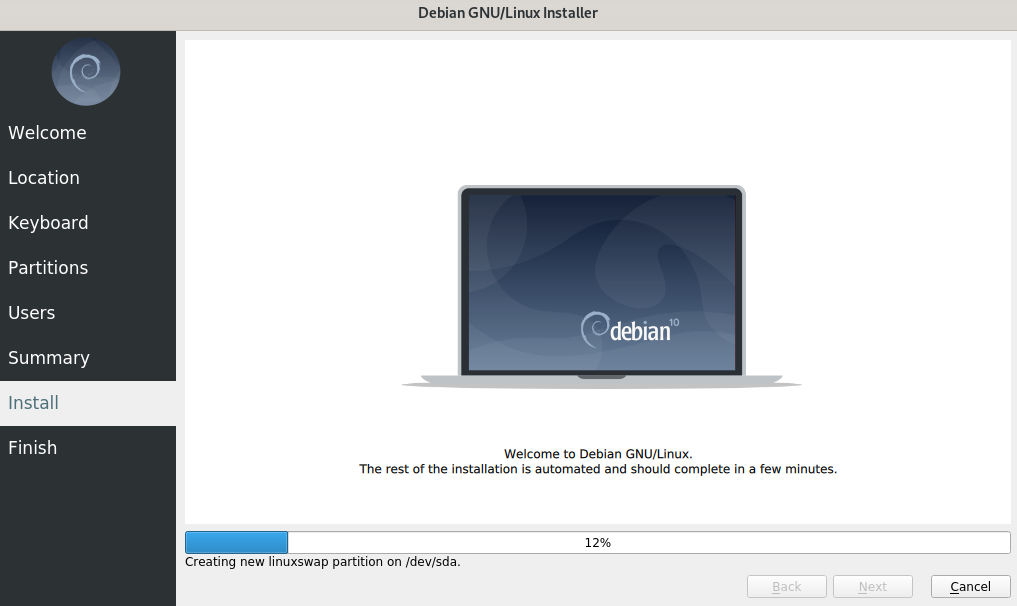
At some point, it will seem like the installation has stopped. But you don’t need to worry, it has not stopped.
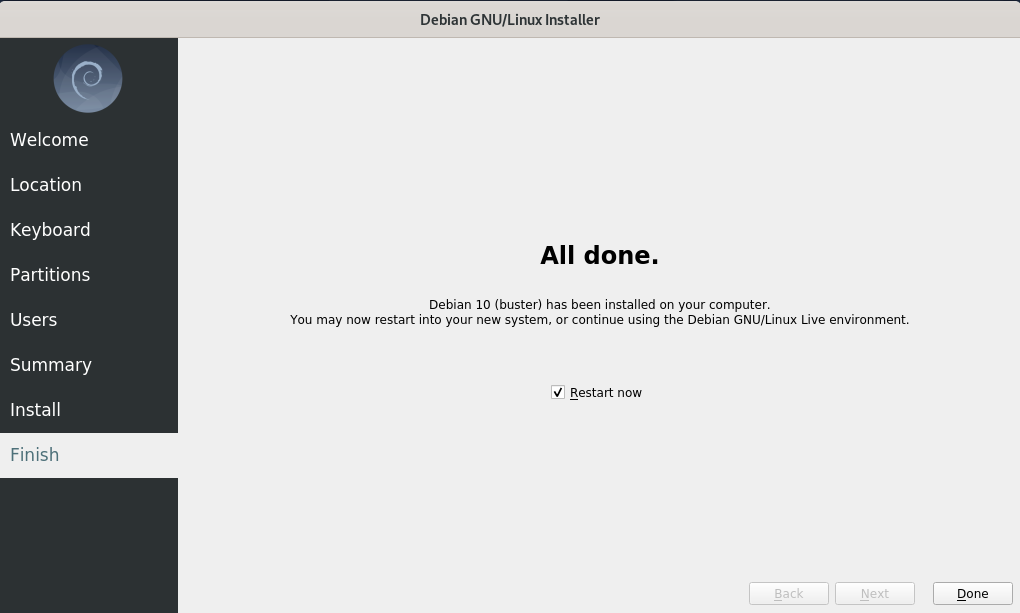
Once the installation is complete, plug out your installation media (Flash drive in our case) and then click Done. The system will restart and you will be presented with your newly installed OS.

The picture above is of GRUB bootloader. It will show up every time you turn on your computer. Select Debian GNU/Linux to start Debian.