There are several ways to make a bootable flash drive. Here we are going to discuss three of them.
Note: Making a bootable flash drive deletes everything present on the flash drive.
Method 1: Etcher (Recommended)
I recommend using etcher because this app is very simple and easy to use. It is available for Linux, Mac and Windows. You can download etcher from here.
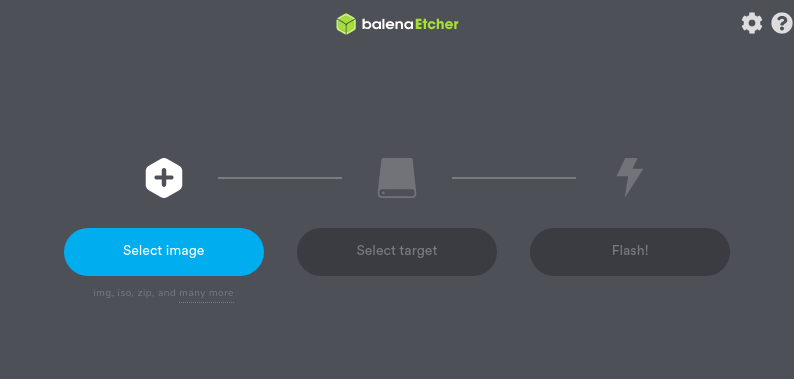
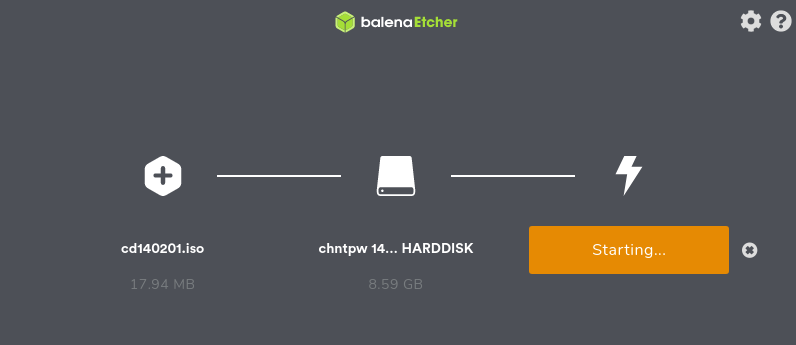
When you run Etcher, it looks something like this
If you want the process to be fast, you can click on settings icon in top right corner of app window and a settings window will appear
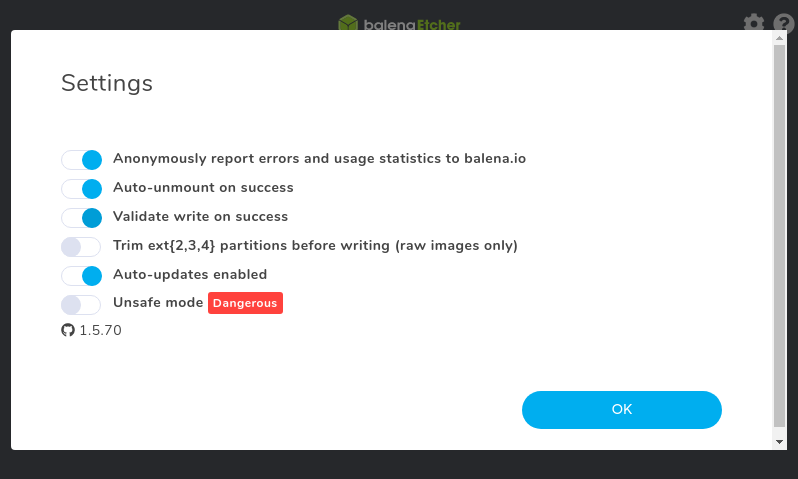
Turn off Validate write on success
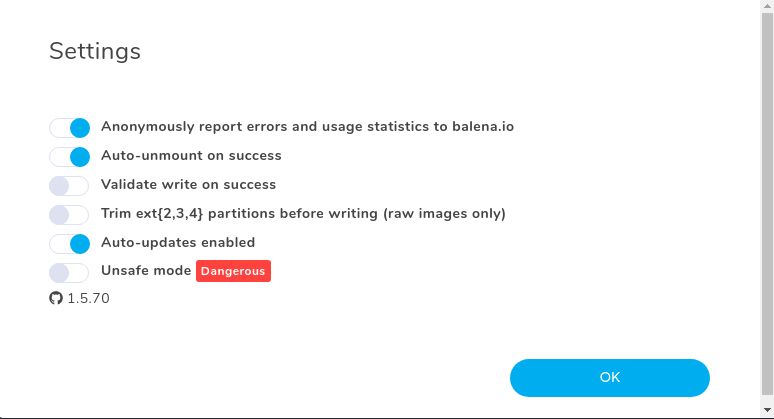
Hit OK.

Insert your Flash Drive into your computer. Etcher automatically detects your USB Flash Drive. Click on Select image and select your ISO file.
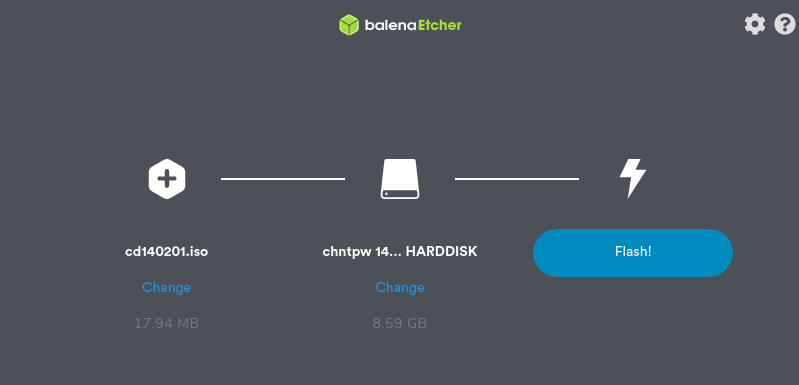
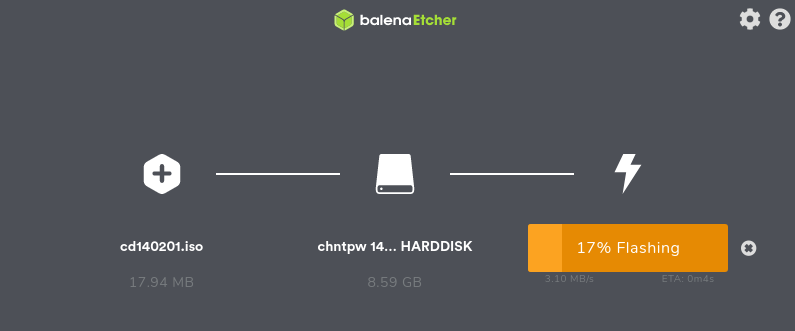
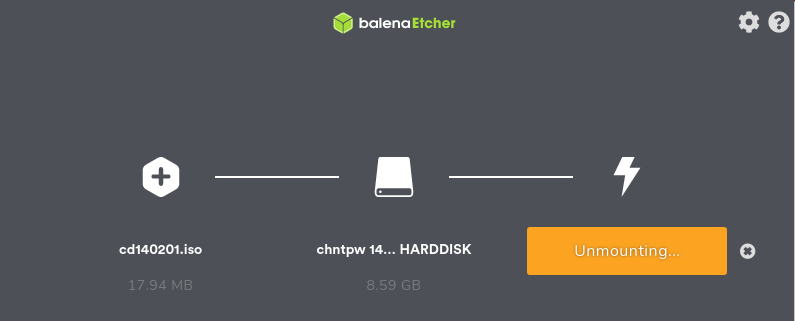
Click on Flash!. The process will begin.
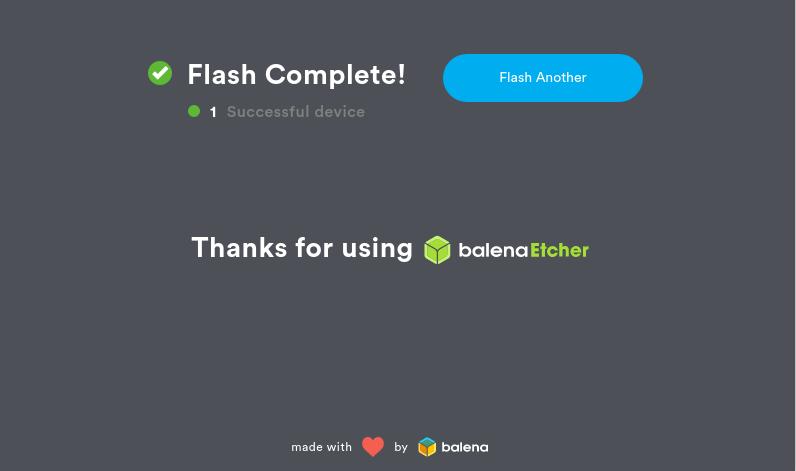
The process is complete. Plug out your USB drive. It is bootable now.
Method 2: Rufus
This app is available only for Windows. You can download it from here.
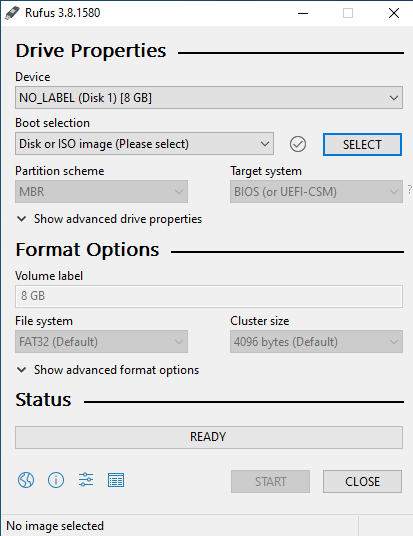
Plug in your USB Flash drive and run Rufus. It will look something like this
It automatically detects your USB Flash drive. Now, Click on Select and choose your ISO file.
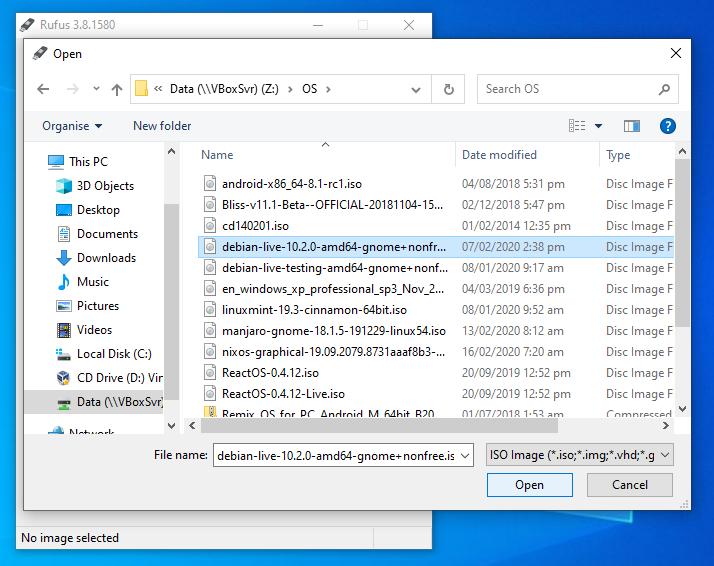
I selected debian-live-10.2.0-amd64-gnome+nonfree.iso. You may have noticed that this name has appeared under the option of Boot selection and at the bottom.
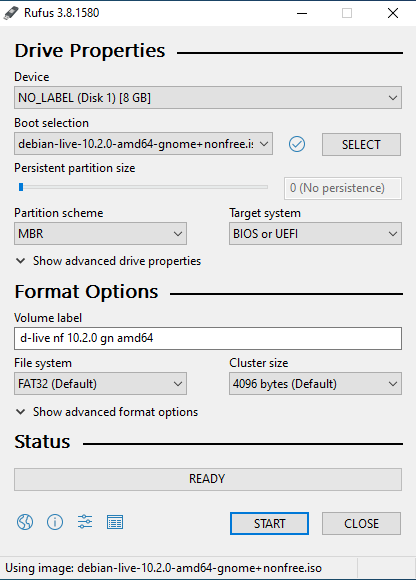
You don’t need to change anything else. Just Click on START.
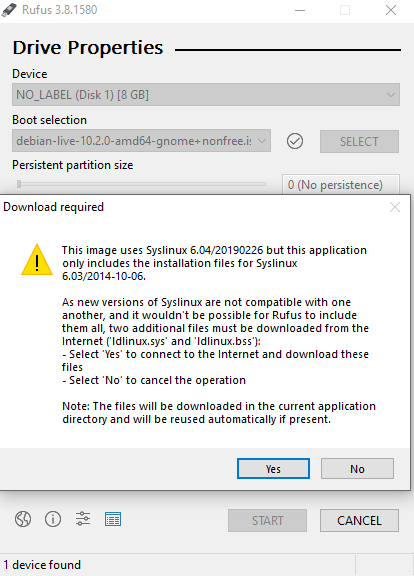
If a pop up shows up to download some files like above, click on Yes. But you will need an internet connection to download files.
Next, it will ask if you want to continue because all data on your Flash drive will be lost.
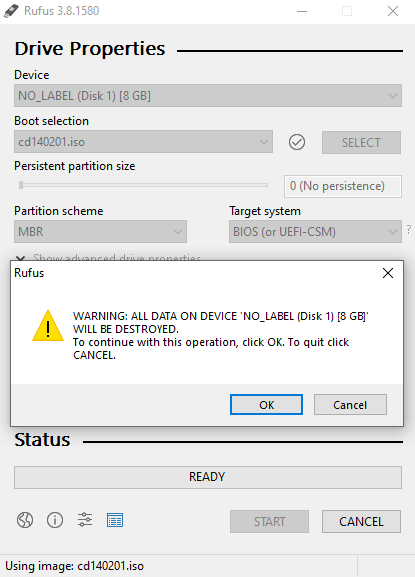
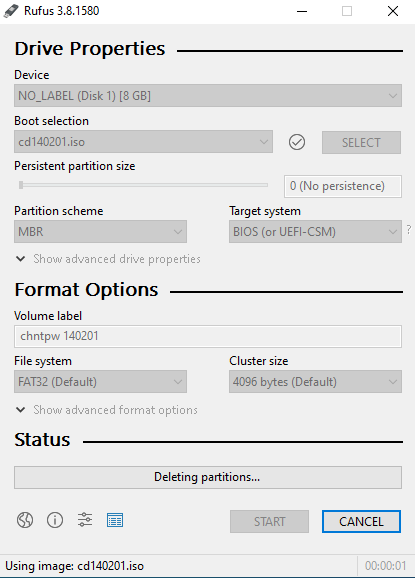
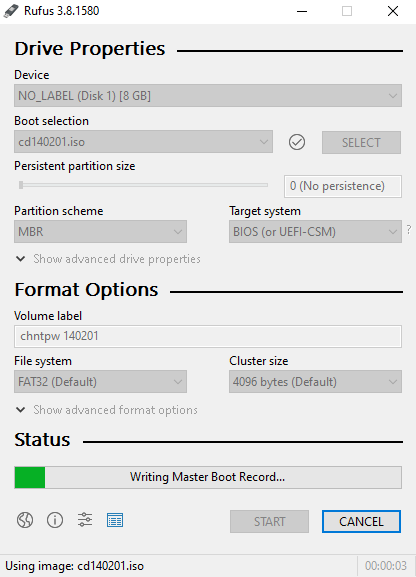
Click on OK. The process will begin.
When the process is complete, it will look something like below
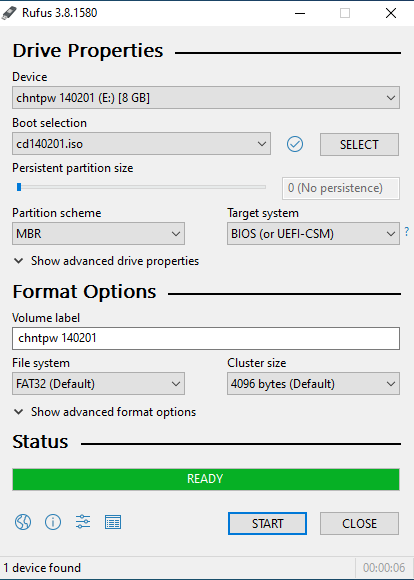
Plug out your USB Flash drive. It is bootable now.
Method 3: Command Line
This method is only for advanced users of Linux, Mac OS, Android, Chrome OS or any other OS with bash or sh shell. You don’t need to install any app for this method but you do need root access. Open your favourite terminal and type something like this
sudo dd bs=1M if=/path/to/iso of=/dev/sdx
Enter your password and then press Enter to start the process. Replace “/path/to/iso” with the real path of your ISO fie and “/dev/sdx” with path to your USB Flash drive. There are many files in /dev/ directory. The ones that are in the form of sd[a-z] are storage devices. The first ones are internal storage devices. For example, if you have two disk drives in your computer, /dev/sda and /dev/sdb will represent those two internal drives and /dev/sdc will be your USB Flash drive (unless you have an external drive attached).
Note: In Android, these files representing storage devices are located in /dev/block/ instead of /dev/.
Now, assuming your USB drive is /dev/sdc and your ISO file is located in /mnt/Data/OS/, an example of real command is
sudo dd bs=1M if=/mnt/Data/OS/ReactOS-0.4.12-Live.iso of=/dev/sdc
Here sudo is used to get root access, dd is the real command, bs stands for block size, 1M means 1 MB, if stands for input file and of stands for output file. Most people use 1 MB block size and it works fine. You can change it to whatever you like but I won’t recommend it.
After you type the command and press Enter, process will start but there will be no output on the screen until the process is complete. Once the process is complete, the output will be something like this
17+1 records in
17+1 records out
17942528 bytes (18 MB, 17 MiB) copied, 0.575936 s, 31.2 MB/s
Take a look a the screenshot
